
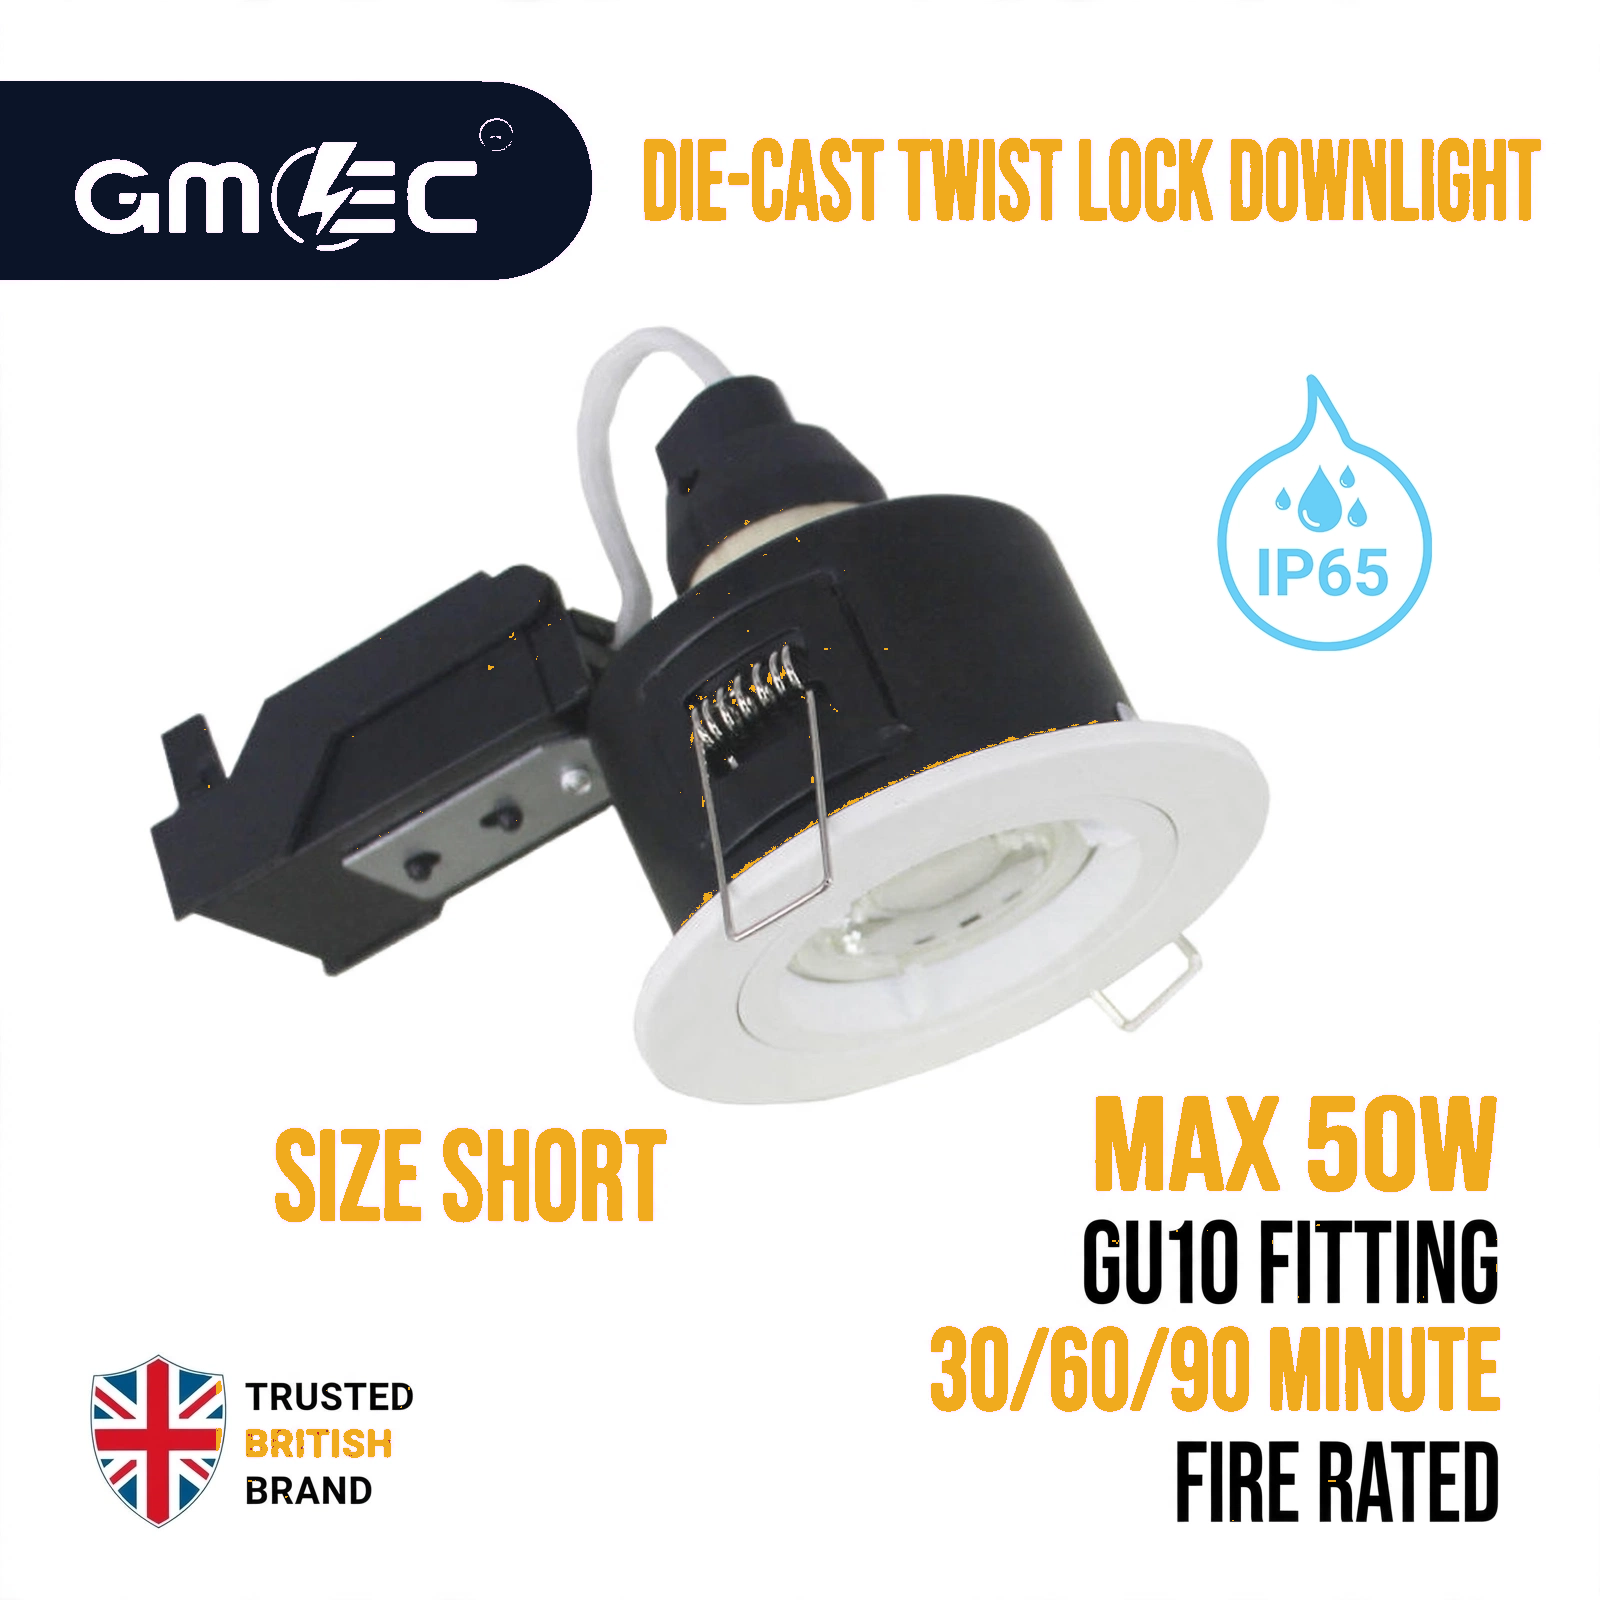
Installing GU10 downlights in your home doesn't have to be intimidating. While professional installation is the safest option for new electrical work, replacing existing downlights with new LED bulbs is something most homeowners can do themselves. This guide walks you through everything from understanding what you need to safely installing and testing your new lights.
At GMEC Corporation, we've helped thousands of homeowners upgrade their lighting. The most common question we get is whether installation is difficult. The honest answer: replacing bulbs is easy. Installing new recessed fittings requires an electrician. But once the fittings are in place, maintaining and upgrading them is straightforward.
This DIY ceiling lights guide covers everything you need to know about how to fit spotlights safely and correctly. Whether you're a first-time installer or upgrading existing downlights, you'll find practical step-by-step instructions here.
1Understanding Your GU10 Downlights Before Installation
Before you touch anything, understand what you're working with. Knowledge prevents mistakes and keeps you safe.
What Exactly Are You Installing
GU10 downlights are small spotlight bulbs that fit into recessed ceiling fittings. The fitting is the permanent part installed into your ceiling. The bulb is the replaceable part you'll install. Confusing these two different components is the most common beginner mistake.
If your home already has recessed fittings in the ceiling, your job is simple. You're just installing new bulbs into existing fixtures. If you're adding brand new recessed fittings, that requires a qualified electrician and is beyond DIY scope.
Identifying Your Existing Fittings
- Look at your ceiling. Do you see circular recessed fixtures? That's where your GU10 downlights go. These fittings are already wired into your home's electrical system, so your job is replacing the bulbs inside them.
- If you don't have recessed fittings and want to add them, contact a qualified electrician. Professional installation is essential for new electrical work. GMEC Corporation can supply the downlights, but an electrician must install the actual fittings.
The GU10 Installation Guide Basics
- The GU10 fitting type is a twist-lock system. The bulb has two small pins that push straight in, then twist 90 degrees to lock. This is incredibly secure once installed correctly, and most people find it intuitive once they understand the mechanism.
- GMEC stocks GU10 LED bulbs in various brightness levels and colour temperatures. Whether you need cool white for task lighting or warm white for ambience, choose your specifications before installation so you know exactly what you're putting in.
2Safety First: Essential Steps Before Installation
Never skip safety steps. Working on ladders and with electricity requires respect and caution.
Turn Off Power at the Breaker
- This is non-negotiable. Before touching any existing downlights, turn off power to those circuits at your electrical breaker box. If you're unsure which breaker controls your ceiling lights, switch off multiple circuits or the main breaker if necessary.
- Test that power is off by flipping your light switch. The lights should not come on. If they do, you've got the wrong breaker, so keep trying until you find it.
Use a Safe Ladder
- Never stand on the top step of a ladder. Always keep at least two rungs below the top for stability. Position your ladder directly under the light you're working on, since leaning sideways or overreaching is how falls happen.
- If your ceiling is very high, consider renting a small platform ladder rather than balancing precariously on a standard ladder.
Have Proper Lighting
You need good light to see what you're doing. If you're replacing downlights, you've just turned off your ceiling light, which defeats the purpose. Use a temporary light source like a work lamp, headlamp, or phone torch positioned so you can see the fitting clearly.
Wear Appropriate Clothing
Wear comfortable clothing that doesn't restrict movement. Avoid loose sleeves that could catch on fixtures. Long hair should be tied back, and any dangling jewellery that could catch or cause electrical issues should be removed.
3Step-by-Step Guide to Installing GU10 Downlights
Now you're ready to actually install your new downlights. Take your time, there's no rush.
Step 1: Gather Your Materials
Before climbing any ladders, have everything you need within arm's reach:
- Your new GU10 LED bulbs from GMEC Corporation. Check the package to confirm they're GU10 fittings, not another type.
- Your ladder, positioned and secured.
- Work gloves to keep skin oils off the bulb, since skin oils on LED bulbs can cause premature failure.
- A suitable temporary light source so you can see.
- A cloth for cleaning the fitting if needed.
Step 2: Remove the Old Bulb
- Stand safely on your ladder with good access to the fitting. Look at the bulb, it has two small pins on the bottom.
- Gently push the bulb straight in slightly to release the twist-lock mechanism. Once you feel it release, turn the bulb counterclockwise 90 degrees and it should come out easily.
- Do not force it. If it won't come out, stop, turn the power back on and contact an electrician. Forcing a stuck bulb risks breaking the fitting.
Step 3: Inspect the Fitting
While the bulb is out, look inside the fitting. It should be clean and free of debris. If there's dust or spider webs, gently clean the inside with a dry cloth on a stick or rod. Do not use a wet cloth, as moisture and electricity don't mix.
Check that the fitting itself isn't damaged. The two pin holes should be clean and undamaged. If the fitting is visibly broken, do not install a new bulb, contact an electrician because the fitting itself needs replacing.
Step 4: Install Your New Bulb
- Remove your new GU10 bulb from its packaging. If you have work gloves, put them on now. If not, wash your hands to remove skin oils.
- Hold the bulb by the metal fitting, not the glass, and orient it so the two pins are pointing downward into the fitting.
- Gently push the bulb straight into the fitting. You should feel slight resistance, and you'll know it's fully inserted when the bulb sits flush with the fitting.
- Once fully inserted, turn the bulb clockwise 90 degrees. You should feel a slight click as it locks into place. Do not force it. If it won't turn easily, stop, you may have misaligned the pins. Remove it and try again.
Step 5: Restore Power and Test
- Once the bulb is installed and locked, return to your breaker box and turn the power back on to that circuit.
- Return to your new downlight and use the light switch to turn it on. The bulb should light immediately.
If it doesn't light, work through this checklist before calling an electrician:
- Turn the power back off at the breaker.
- Remove the bulb and check that the pins are clean and undamaged.
- Check that you've twisted the bulb fully clockwise.
- Reinstall and test again. If it still doesn't light after these checks, the fitting itself may be faulty, so contact an electrician for diagnosis.
4DIY Ceiling Lights: Common Installation Mistakes to Avoid
Learning from others' mistakes saves you time and frustration.
Mistake 1: Installing Multiple Bulbs at Once
If you're replacing several downlights, install and test one at a time. This way if something goes wrong, you know exactly which fixture is the problem. Installing all of them, then discovering one doesn't work, means troubleshooting multiple lights instead of one.
Mistake 2: Not Turning Off Power
Never work on electrical fittings with power on. You might think the bulb is just a bulb, but the fitting carries electricity, so always turn off power at the breaker.
Mistake 3: Choosing the Wrong Brightness
Before installing, confirm you have the right brightness level for your space. A 10W bulb is significantly brighter than a 5W bulb. Installing the wrong brightness means you'll need to replace it again, so check lumens, not just wattage.
Mistake 4: Forcing Components
If something doesn't fit easily, stop. Do not force it, since forcing can damage both the bulb and the fitting. Take your time, everything should fit smoothly with gentle pressure.
Mistake 5: Touching the LED Glass
The oils from your skin damage LED bulbs. Always wear gloves or handle the bulb by the metal base only, which extends bulb life significantly.
5Fit Recessed Lights: Room-by-Room Guidance
Different rooms need different approaches when you're learning how to fit spotlights.
Kitchen Downlights Installation
- Kitchens typically have multiple downlights providing task lighting over work surfaces. Install these one at a time, turning power on to test each before moving to the next.
- Many kitchens have downlights on two separate circuits. If some lights don't turn on, check which breaker controls them, and label your breaker box as you discover which breaker controls which lights.
Bathroom Downlights Installation
- Bathrooms often have fewer downlights than kitchens, typically two or three around the mirror and ceiling. The same installation process applies, so take your time and test each bulb individually.
- Bathrooms can be humid, so ensure the fitting is dry before installing bulbs. If you notice moisture, wait for it to dry before proceeding.
Living Room Downlights Installation
- Living room downlights often provide accent lighting in addition to general illumination. Install following the same procedure, and test each bulb before declaring the job complete.
- Many people use dimmer switches with living room downlights. Make sure your new bulbs are dimmable-compatible if you're using dimmers by checking the bulb packaging.
6Downlight Fitting Maintenance After Installation
Once installed, your new downlights need minimal maintenance.
Cleaning and Dust
- Over time, dust accumulates on downlights, which reduces brightness. Clean them periodically using a soft, dry cloth. If you need to remove a bulb for cleaning, follow the same removal process as installation.
- Never use water or liquid cleaners on active electrical fittings, and always turn off power before cleaning.
Lifespan Expectations
Modern GU10 LED bulbs last 25,000 to 50,000 hours depending on quality and usage. This typically means 5 to 10 years of normal use before replacement. GMEC bulbs are rated for extended lifespan, so you'll get years of service.
Dimmer Switch Compatibility
If your downlights are controlled by dimmer switches, ensure your bulbs are dimmable. Not all LED bulbs work with dimmers, and using non-dimmable bulbs on a dimmer can cause flickering or premature failure.
GMEC stocks both dimmable and non-dimmable GU10 options, so choose based on your requirements.
7When Professional Help Is Actually Necessary
Knowing the limits of DIY is important, since some jobs need professionals.
Installing New Recessed Fittings
If you don't have existing recessed downlights and want to add them, a qualified electrician is essential. Cutting holes in your ceiling and running electrical wiring requires professional expertise and building regulation compliance.
Troubleshooting Persistent Issues
If a downlight won't turn on after following these steps, stop and don't keep troubleshooting. A professional electrician can diagnose whether the problem is the bulb, the fitting, or the wiring.
Working Above Insulation
If your ceiling is insulated and you're unsure whether the existing fittings are fire-rated, ask a professional. Installing standard bulbs in non-fire-rated fittings above insulation violates building regulations and creates fire risk.
8Professional Installation for New Downlights
- If you decide professional installation is the right choice for you, GMEC Corporation supplies the lighting components, and you should contact a qualified electrician for the installation work.
- GMEC can advise on which bulbs work best for your space. Our team understands UK building regulations and can confirm whether you need fire-rated fittings. Call +44 7951 282482 or email info@gmeccorporation.com.
- Browse GMEC's complete range of GU10 downlights to see the brightness levels and colour temperatures available. Choose your specifications, and whether you're installing yourself or hiring a professional, you'll have the right bulbs.
9Tools and Supplies Checklist
Before you start, gather these items:
- New GU10 LED bulbs from GMEC Corporation. Confirm the quantity and specifications before purchasing.
- A stable ladder that reaches your ceiling safely, not too short, not so tall that you overstrain.
- Work gloves to protect your skin and keep oils off the bulbs.
- Temporary lighting such as a work lamp or headlamp.
- A soft cloth for cleaning fixtures if needed.
- A small tool like a screwdriver or pick for stubborn bulb removal if necessary, used gently.
- Your electrical breaker box identified and labelled, so you know which breaker controls your ceiling lights.
10Installing GU10 Downlights: Final Thoughts
- 1Installing new GU10 downlights is a satisfying DIY project that anyone can accomplish. The key is patience, safety, and not forcing anything.
- 2If you're replacing existing bulbs with new LED options from GMEC Corporation, you have a quick, easy project. If you're adding brand new downlights, hire a professional electrician for the fitting installation.
- 3The brightness and light quality you gain from modern LED downlights makes the effort worthwhile. Your spaces will look better, your electricity bills will drop, and your lighting will last for years.
- 4Visit GMEC's GU10 downlights section to browse available options. Choose your brightness level and colour temperature based on the room and mood you're creating, and stock up on replacement bulbs so you have them when needed.
- 5If you're tackling this project for the first time, take your time. Read through these steps several times before starting, have all your materials gathered, and work safely. You'll do fine.
For professional advice on which bulbs suit your home, contact GMEC at +44 7951 282482 or info@gmeccorporation.com. Our team can recommend the perfect specifications for your project.
Published by GMEC Corporation, London. Visit gmeccorporation.com for complete GU10 downlights and lighting solutions.
Ready to fit your new downlights?
Free UK delivery over £100, 14-day returns and 24/7 support. Not sure which brightness or fitting you need? Ask our team.